![]()
![]()
|
|
|
|
| |
|
|
|
[Part 1 - Sanding] [Part 2 - Stain & Finish] [Part 3 - Baseboards] [Part 4 - Done!]
The next day (Monday), we put on the third and final coat of floor finish (we had to buy another gallon).
Finishing the final coat. Notice the fan to ventilate. Also: we did this at night, so it was hard to see
where we had painted. I suggest applying floor finish during the day.
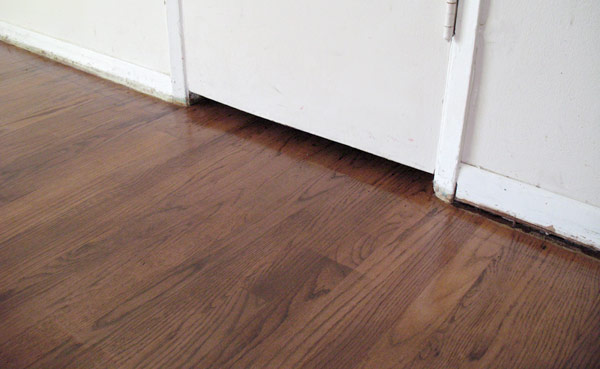
We had to touch up a couple spots the next day.Then Wednesday, we worked on the baseboards. As you can see in this picture, they were different sizes:
To the left of the closet, the baseboards reach the hardwood.
To the right, there's a gap, it only reached down to the carpet.
We found an old strip of wallpaper that looks like it might be from the 1960's
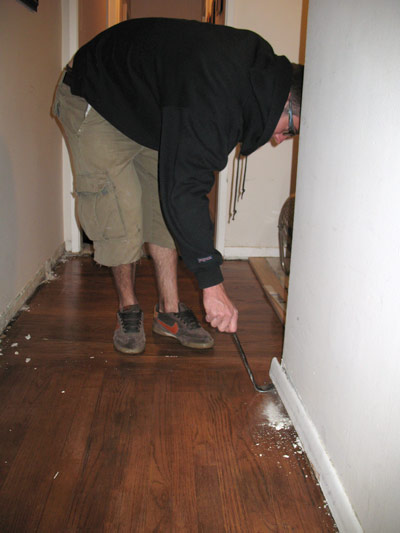
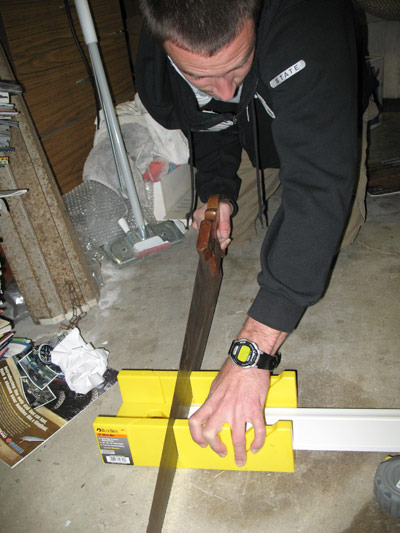
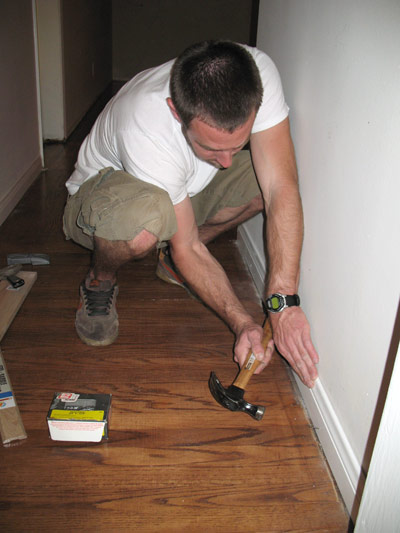
Preparing the baseboards
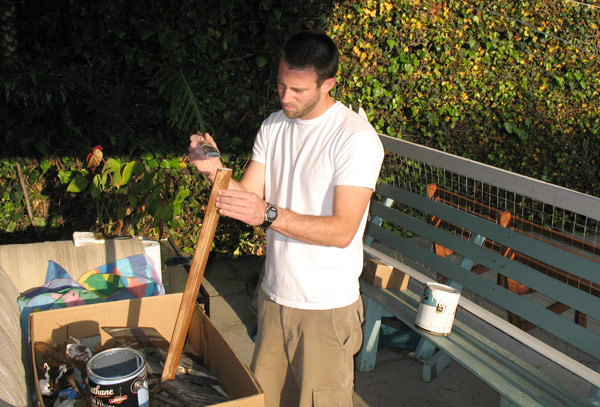
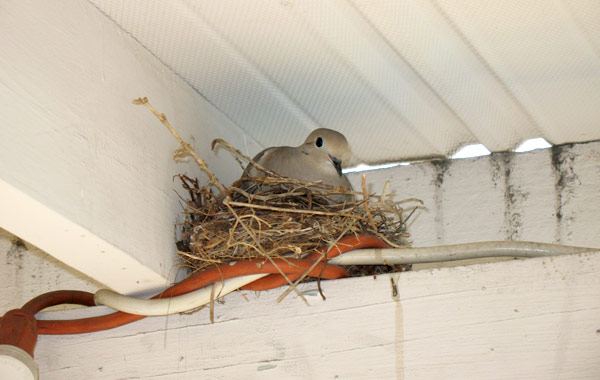
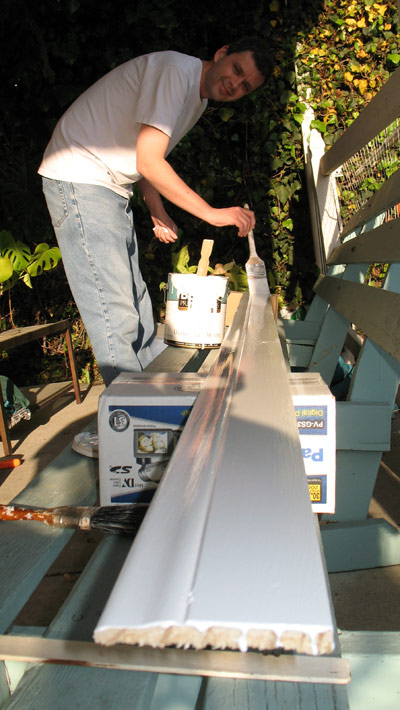
Painting a board to cap the carpet. We stained the board the same color as the floor.Meanwhile, we had a slighly-worried onlooker, observing this whole process:
Her nest is right above where we were working. But she didn't fly away.
Tomorrow we just need to complete the boards that make the transition between the tile and the floor (the tile is about half an inch higher), and paint the old baseboards. I'll post some more pictures when we're completely done.
[Part 1 - Sanding] [Part 2 - Stain & Finish] [Part 3 - Baseboards] [Part 4 - Done!]
![]()
Created and maintained by Matthew Weathers.
Last updated Apr 4, 2008.
![]()